See Saw Swap Block Progress this week
I thought I would share the method behind the madness with my partner's block this week. I am putting the second round of the Ghastlie tree on her quilt and am sharing a little of how I am doing it. This is my first tutorial and by no means the best teaching tool but here goes. This is how the block ended at round one.
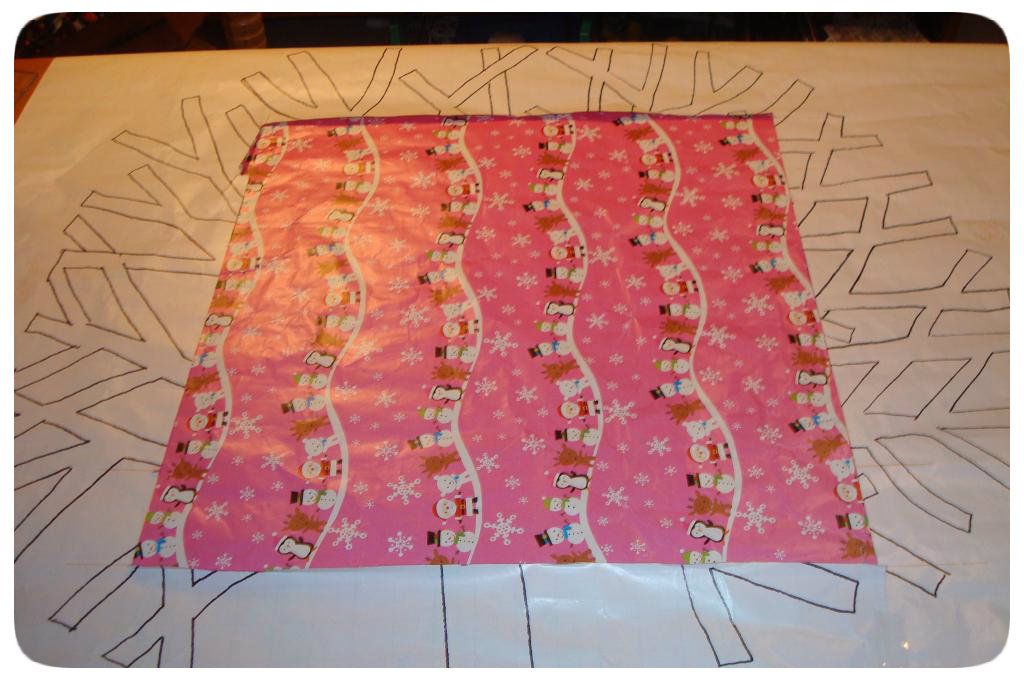
Sharon added a border and sent it back and I needed to add round two of my Ghastlie tree. I had originally enlarged a ghastlie tree print from a picture of one and blew it up very large on a piece of Christmas wrapping paper. Here is a picture of what was left of the pattern after round one.
The center is the area where I cut out the size of Sharon's original block plus the area I used to make the first tree border. Now I needed to cut out the size of Sharon's added border. Which was 2 1/2", so I first drew a line at that width on the paper and then another at 3" out from there so my finished border will be another 2 1/2" when completed.
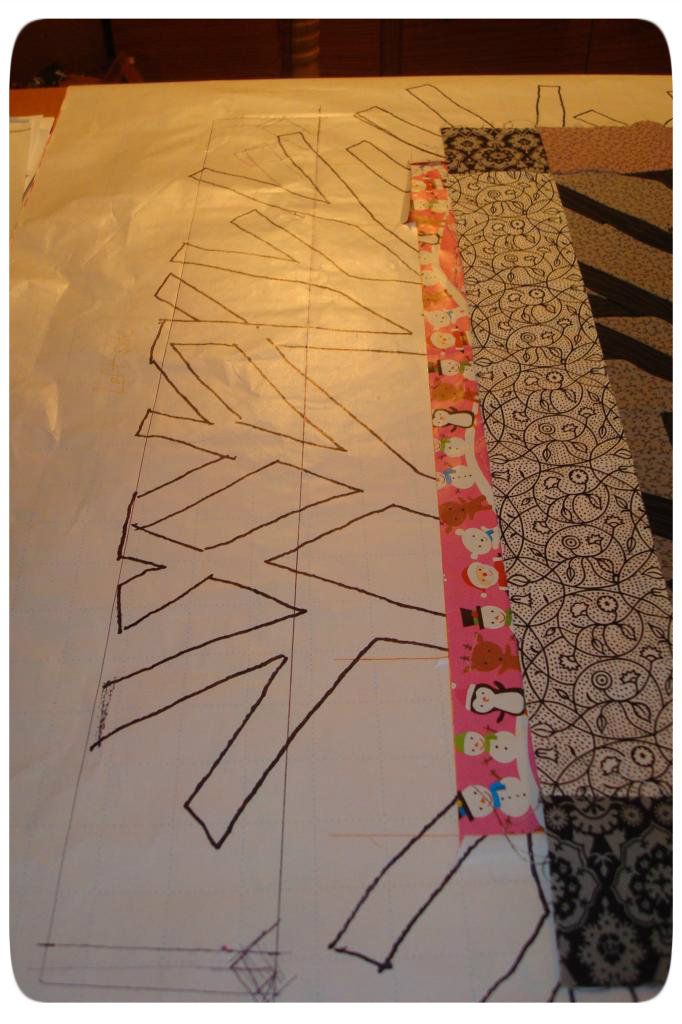
Then I cut that area out that I needed to be my border. Here is where the fun begins. I need to look at it and decide how I could paper piece each area and put it back together again.
Here is what I came up with. I know as I move them around I may get the order wrong so here is my solution.
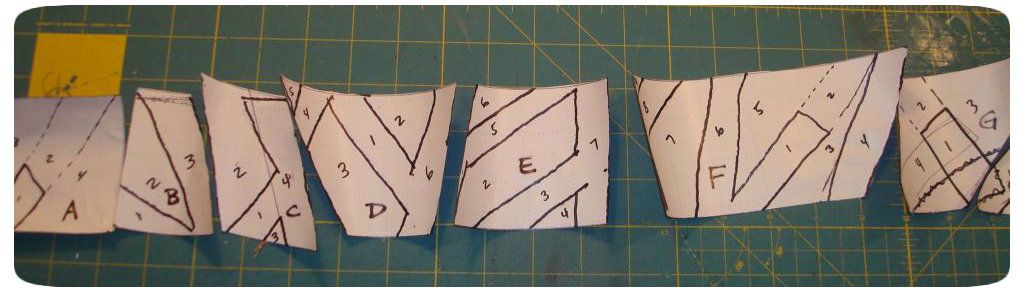
I add the A - B- C - D- E- F -G -H labels to the patterns so I can have a reference how this goes back together. After that I just paper piece each part, trim , and sew it all back together.
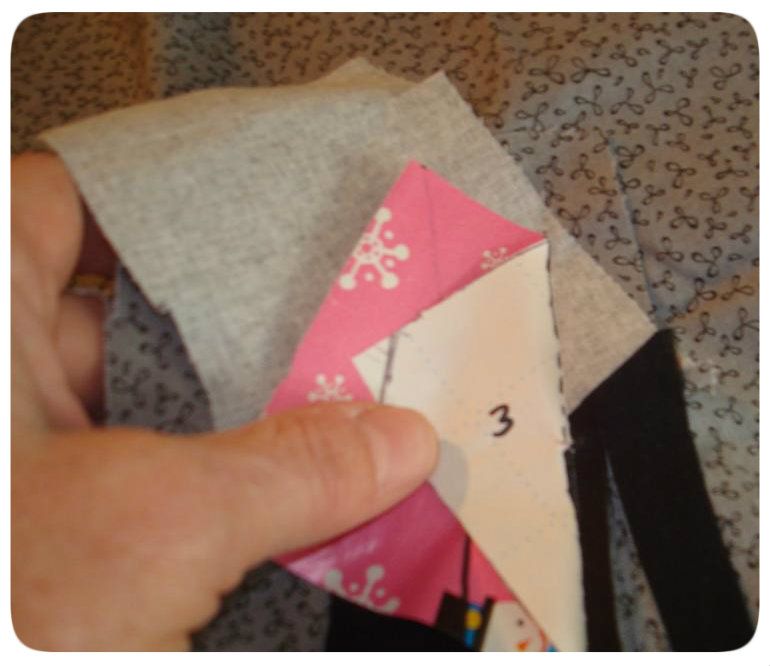
I like to start each piece by cutting the approximate size of fabric I need. With paper piecing you want to make the pieces larger than the area you are covering. It does waste a lot of fabric compared to conventional rotary cut pieces but I love what it allows me to create and for me it is worth the extra fabric it takes to create that look. Because in paper piecing you will be creating a mirror image and I want the exact image I will need to be doing the sewing on the bottom side of the paper and putting the fabric on the top. I just flipped the pieces over and drew my pattern on that side. If it was difficult to see the pattern I could take it to a window and use the light to trace the pattern on the reverse side, but since I used a sharpie it was a pretty easy task.
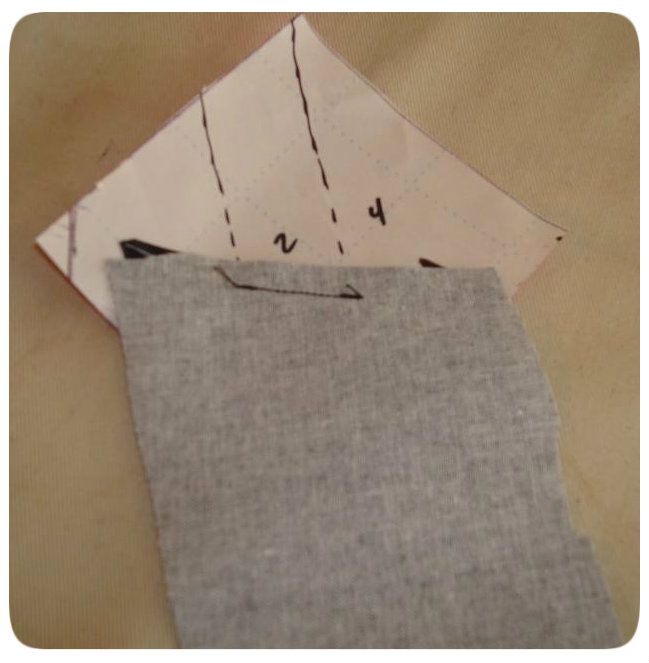
Next I just started building my pieces. After each addition of fabric I just trimmed the fabric giving me my 1/4" seam allowance. I do this each time by just folding back the pattern and trimming the fabrics to a quarter inch by just estimating it like so.
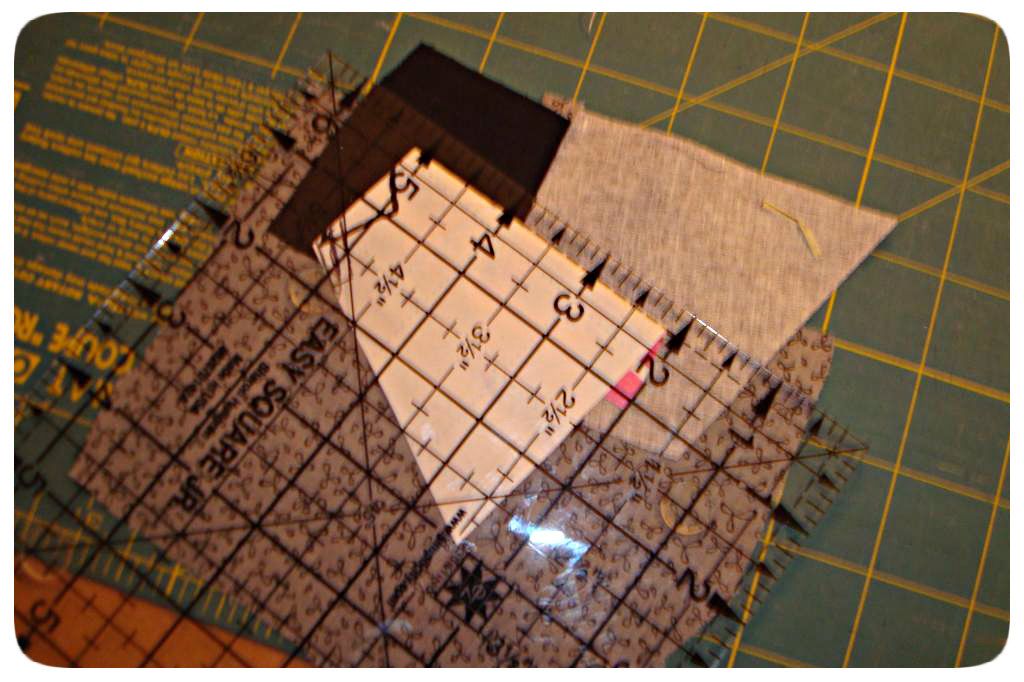
If you rather you can always use your rulers to trim fabrics back to the quarter inch but I like to speed the process up and just trim it to an approximate 1/4", if you prefer you can always use your ruler like so.
When I got each piece completed I just added a quarter inch to each of the sides I will be sewing back together to make my border strip. Since I cut my pattern at 3" width I don't add the 1/4" inch to the top and bottom sides each time.
I must say this is the first time I have paper pieced using Christmas wrap. I did it out of necessity due to the size of the pattern when I enlarged it but I highly recommend it. It tears off so easily when it comes to that step. I have used tissue paper, cheap drawing pad paper, all kinds of quilt tear away papers and none remove as easy as this xmas wrapping paper. I usually run my tissue paper through the copy machine but with this project I just drew it directly on the paper so the wrapping paper was a great choice.
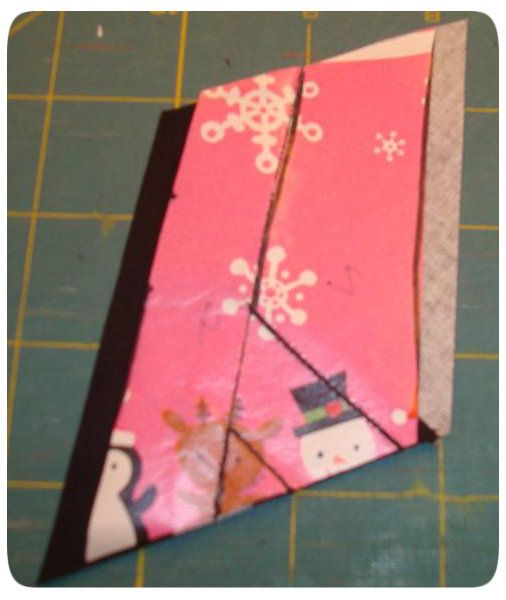
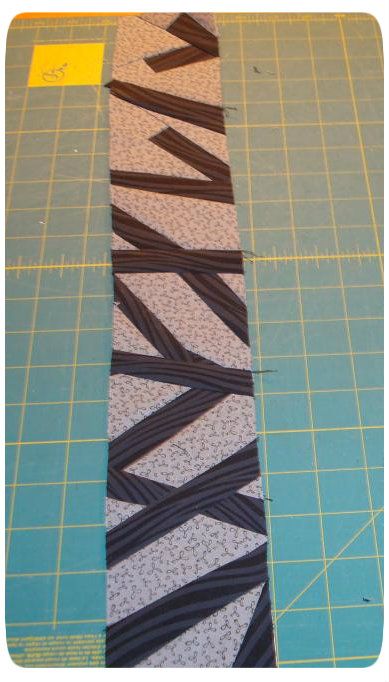
Once I had them all made and sewn together my border looked like this. I put it and the other side on to get this far.
I've added the last two borders to the top and bottom and sent it out to my partner. But she and you will have to wait to see the rest. Just a peek for now, I hope she loves it as much as I do. I can't wait to add my next go round onto the block, this has been one fun project to work on. See you soon Ghastlie block, I have a lot of work to do to get ready for my final turn at you :) Looking forward to seeing you again.


Very, very cool and such a different take on the Ghastlie theme. Can't wait to see the finale.
ReplyDeleteThis is Sharon - Kathy has been such a great partner for this "See-Saw Swap" Her paper piecing is AMAZING! I am a beginning quilter and am so impressed not only with her design ut also her beautiful work. Hoping she is enjoying my additions to her blocks as much as I am enjoying hers!
ReplyDeleteThanks Kathy!
Wow, I admit that paper piecing is so great! I just love it, you enhanced that block so nicely!
ReplyDelete