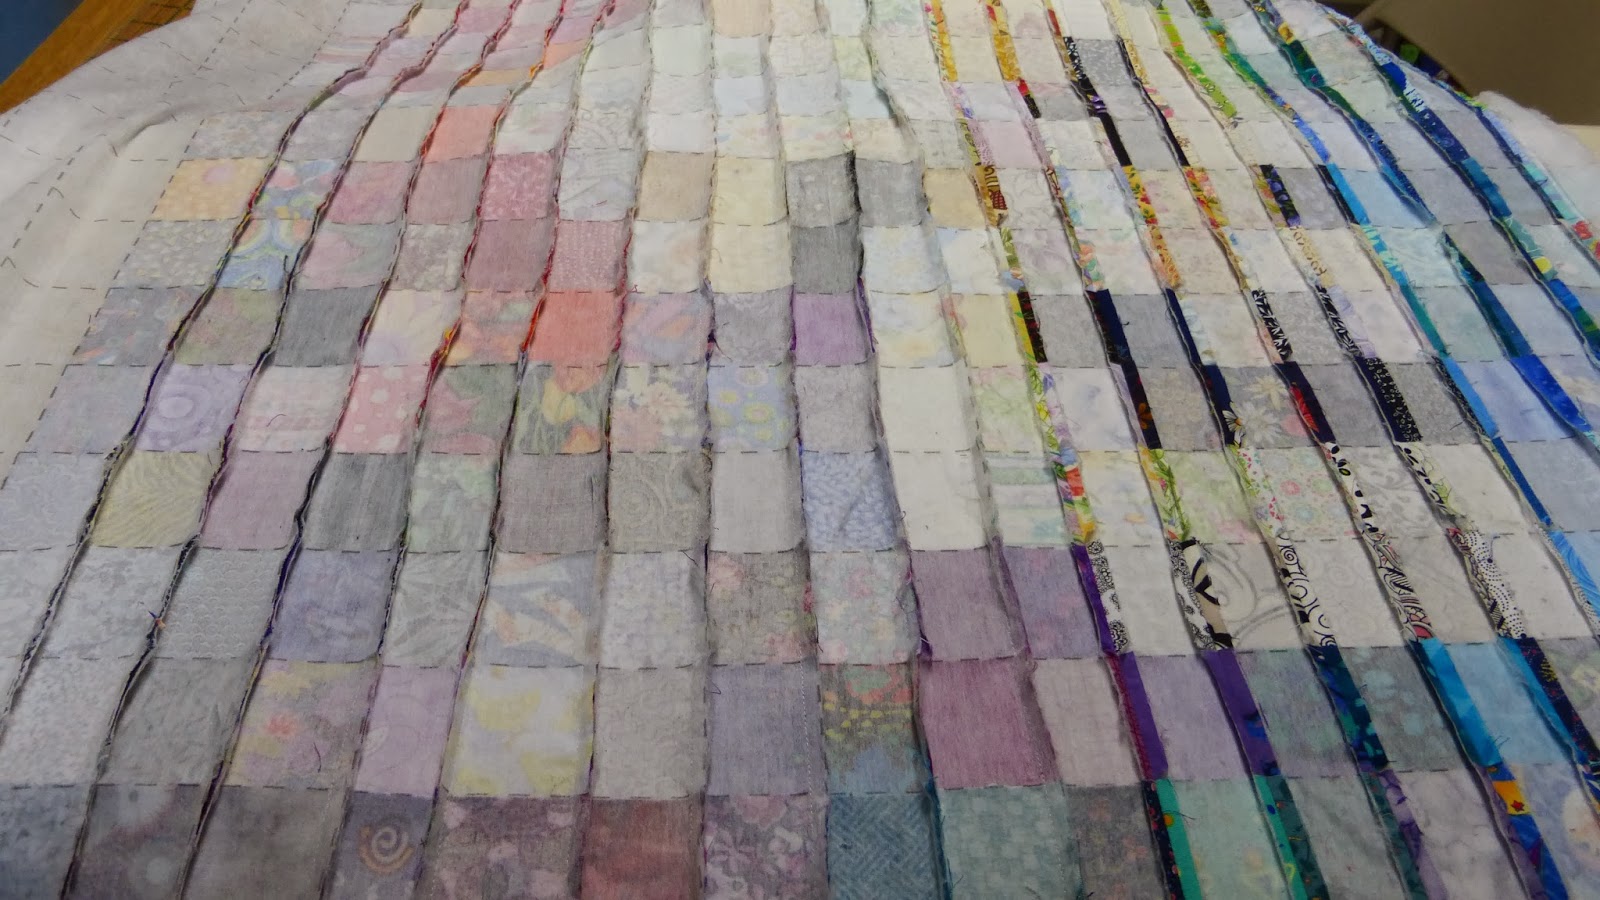
Here is how I put this pixel top together. I used some 820 Pellon fusible grid and iron each of the pieces onto it to form my quilt top base.
This is what the back of the grid looks like and you just layout a couple rows and iron them for 5 to 10 seconds with a hot, dry iron and your fabrics squares will then stay put so you can move on to the next step.
You just turn the piece right sides together and row by row sew each of the row from top to bottom across the whole project in one direction.
If you find yourself wondering what the thing to the right of my presser foot is(that says tape side), it is just a magnet strip that I sometimes like to use when I want to maintain a 1/4 inch seam allowance. I just use it as a guide to run my fabric up against.
This is what it will look like after one direction is completed. The next step is to open each of the seams with a pair of scissors and iron the seams open. It takes a little time to get the scissors in the seam and cut open but it is very doable.
At that point you can turn the top 90 degrees and sew each of the rows in the same manner again
After each of them is sewn across the whole top, repeat the seam opening procedure and iron the seams open again.
I choose the project because it reminds me of the Mexican skulls used to celebrate the day of the dead, Dia de los Muertos. It is a big celebration in Southern Mexico to honor a families dead relatives. In most Indian villages, beautiful altars are made in each home to honor the dead. They are decorated with candles, flowers and lots of food. Little folk art skeletons and sugar skulls are included in the many decorations and festivities.
I think I should add this kind of free motion quilting to the skull. I do think part of the problem is my skull is a side view but the back of the brain cavity should be very identifiable. I do worry that this much quilting will just add to the confusion of the top but I think it may bring the eye to the center of the quilt if I do it right.
In the meantime, between doodling up what should be my FMQ design for this project. I have started a new medallion center for a quilt-a-long with the Portland Modern Quilt Guild. In February, Karen from The Recipe Bunny and I decide to become members of the PMQ Guild. It was our second meeting we attended together and it has been a lot of fun getting to know Karen and seeing what our local Modern Quilt Guild is doing. It is a rather large chapter and lots of things going on and lots of show and tell. Karen even took a quilt she had just finished for her husband for Valentine's Day for show and tell. So many of the medallions they had displayed at the meeting were so traditional and not what I expected from a Modern Quilt Guild. I want something with a more modern feel for the middle of my quilt so I am putting together my own design. I can't wait to get it all sewn together and show it off here. I chose a few fabrics from my stash to work with for the colors on this one. At some point, I may need to shop for more in these colors but I have enough to get started.
Keep Stitchin'


.JPG)


.JPG)
You made me actually laugh out loud with the reaction your coworkers gave you. I saw the skull right off the bat in your first post. Before I read anything I had wondered if it was intentional or not because 1) you don't see skulls in quilts very often and 2) the color burst quilts are very popular. I think the skull is great and you can definitely tell it is there. I would probably do tighter quilting around the skull in the background pieces so that it makes the skull puff out. The do a larger motif inside the skull. And, your medallion fabrics are gorgeous! Can't wait to see what you come up with!
ReplyDeleteThat's stunningly put together, really striking! Although for the life of me I cant see the skull and Im much older than the youngsters lol
ReplyDeleteI love all the colors in this but to be totally honest I really don't see the skull either.
ReplyDelete